Set up a development environment for Timesketch
Background
This article should walk you through the process for creating an environment where you can develop on Timesketch.
The target audience for this blogpost is an engineer who is familiar with Python, git and GitHub and has some basic understanding of operating systems as well.
What is Timesketch?
Timesketch is an open source tool for collaborative (digital) forensic timeline analysis. Those timelines can be from separate systems and investigated by multiple analysts in parallel. Timesketch is written in Python 3. Elasticsearch is used as the storage backend together with a SQL database to store additional attributes and metadata.
One of the benefits of open source digital forensic and incident response software (OSDFIR) is the ability to write code to extend the capabilities and to match their own workflow. This article will explain how to set up a development environment and how to contribute to the Timesketch project (also referred to as upstream).
System requirements
Linux / MacOS (Windows is not yet supported)
Minimum of 8 GB RAM (more is preferred)
Docker
NOTE: It is not recommended to try to run on a system with less than 8 GB of RAM.
Install software
1. Install Docker (depends on OS)
Docker is used to easily deploy mostly self-contained environments without the need to change the host environment. Which saves a lot of time in making sure you have a working build/run environment.
Timesketch provides pre-configured Docker containers for production and development purposes. To install docker, follow the official instructions here.
Test your Docker installation by running:
If this is not the case, please go back and troubleshoot your Docker installation and make sure Docker is working.
Adjust memory settings for Docker
The Docker containers that will run are very memory intensive, thus a modification of maximum memory that can be used by a container is recommended.
NOTE: If your output does not match the above, please do not continue, as it might result in the Elasticsearch Docker container not running as expected.
For different operating systems, please have a look here.
2. Install Docker Compose
Docker Compose is used to manage the Timesketch development Docker container. It allows developers to easily update the Docker build/run environment configuration if needed.
To install Docker Compose, follow the official instructions here
Test your installation of docker-compose by running:
If this is not the case, please go back and troubleshoot your installation of Docker Compose and make sure Docker Compose is working.
3. Create a personal fork of Timesketch
A personal fork of Timesketch on GitHub is needed to commit code to the upstream Timesketch project. The flow for this is you push code to your personal Timesketch fork and once you are happy, you create a pull request to ask Timesketch maintainers to add your code changes to the upstream project.
Login to Github
Navigate to https://github.com/google/timesketch
Click the “Fork” button in the upper right corner.
4. Clone your personal Timesketch fork on your local system
To be able to make changes to the Timesketch code, make a clone of your personal Timesketch fork on your local system by running:
5. Configure git to sync upstream changes
Adding the upstream repo to your local repository will allow you to easily update your local repo (pull changes) with upstream at a later point.
To pull changes from upstream and apply local changes on top of them:
Deploy and start containers
It is now time to deploy your development environment! Docker-compose will setup 4 containers:
Elasticsearch
PostgreSQL
Redis
Timesketch
Now those 4 containers need to be started and some services within the containers have to be manually run to get Timesketch running. Timesketch relies on a webserver and workers to run to import uploaded data or run analyzers on that data.
Security remark: The datastore containers don't expose any ports by default because they communicate using the internal Docker network. The only port that is exposed is the Timesketch web server at 127.0.0.1:5000.
1. Deploy containers
The following command will deploy and start your different containers.
To verify all worked well run the following.
NOTE: If your output does not match the above, please do not continue, as it might result in the Elasticsearch Docker container not running as expected.
2. Start Timesketch
When all containers are running it is time to start the development server and the ingestions workers. You want to run these manually as you need to see STDOUT/ERR while developing.
First you need to know the container identifier (CONTAINER_ID) of the Timesketch container:
Now run:
This command might take a while to complete as it will pull several containers and install software in those various Docker containers, so have a cup of tea or coffee while waiting.
After that you should see:
If that is not the case, then please have a look at the messages in the terminal. Occasionally software can not be installed, which is usually caused by network problems which prevent Docker from accessing the internet.
For the next steps you need two parallel shells.
3. Start the webserver (first shell)
Start the development web server. Any changes to the python code in your repository will automatically restart the server for you.
As you can see, we set the CONTAINER_ID environment variable again, because they are not carried over to new shells. So if you close the shell, your webserver will be stopped and you need to start it in a new shell.
After a few moments, you should see something like
That means your webserver is running. Congratulations! =)
4. Start the ingestion workers
Start the background ingestion workers (Celery) if you plan to upload timelines or develop new analyzers. NOTE Celery will not auto-reload when you make changes, you will have to CTRL-C and restart manually while you develop.
After a few moments, you should see the following:
NOTE: The warning about running a worker with superuser privileges can be ignored, as we do not plan to expose the system to anything other than localhost (127.0.0.1, ::1). If you plan to expose Timesketch to any other IP address, please read up on securing Docker containers first.
Using Timesketch
Open your browser and visit: http://127.0.0.1:5000
You should see something similar to:
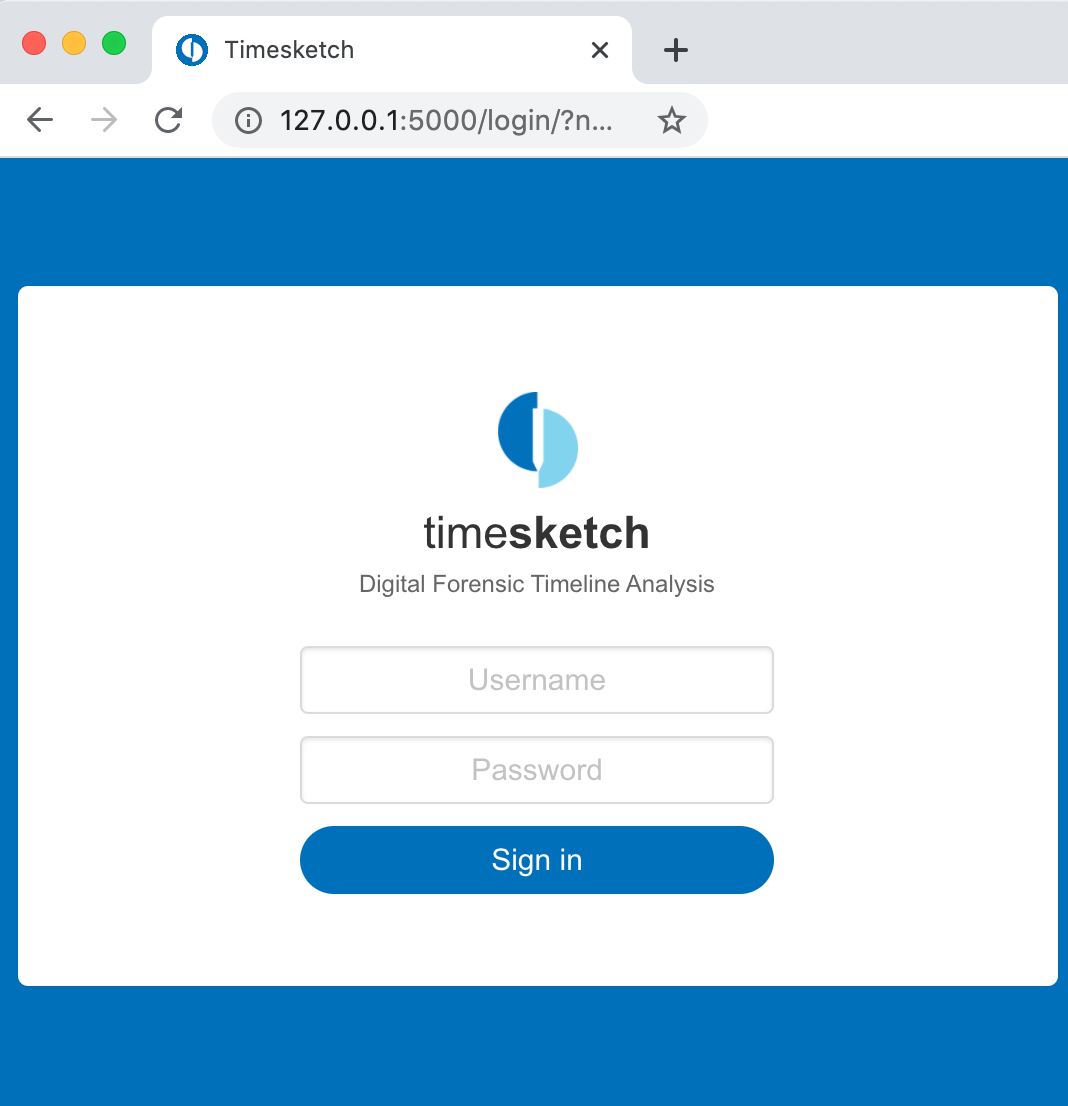
The default credentials for the development Docker are:
Username: dev
Password: dev
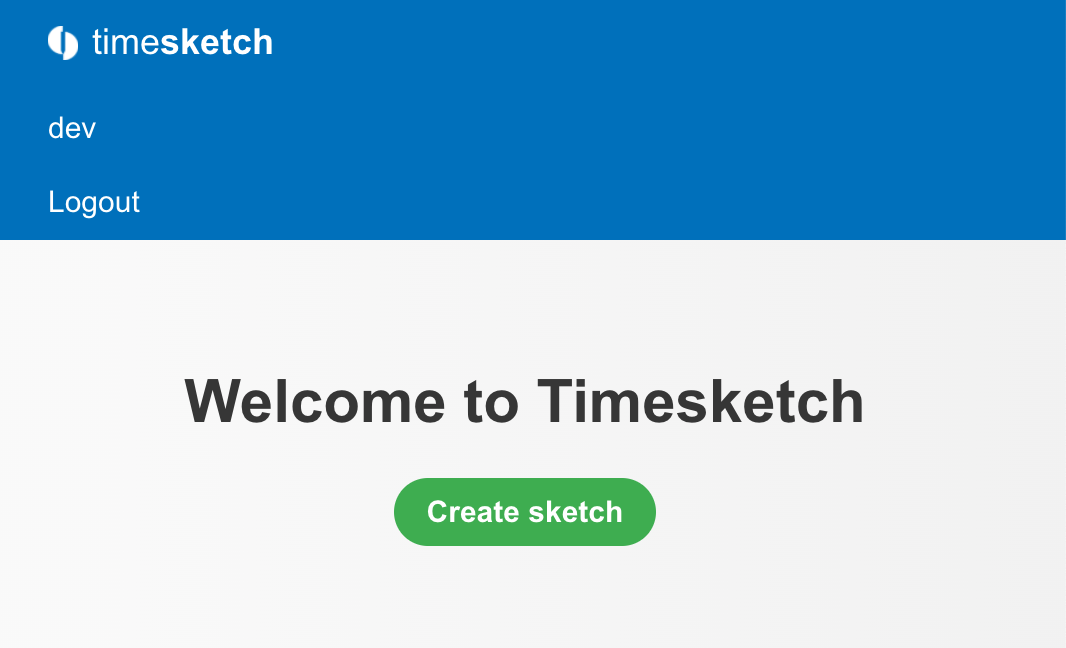
Add your first data
Click on "create sketch"
Give a name and a description for your sketch
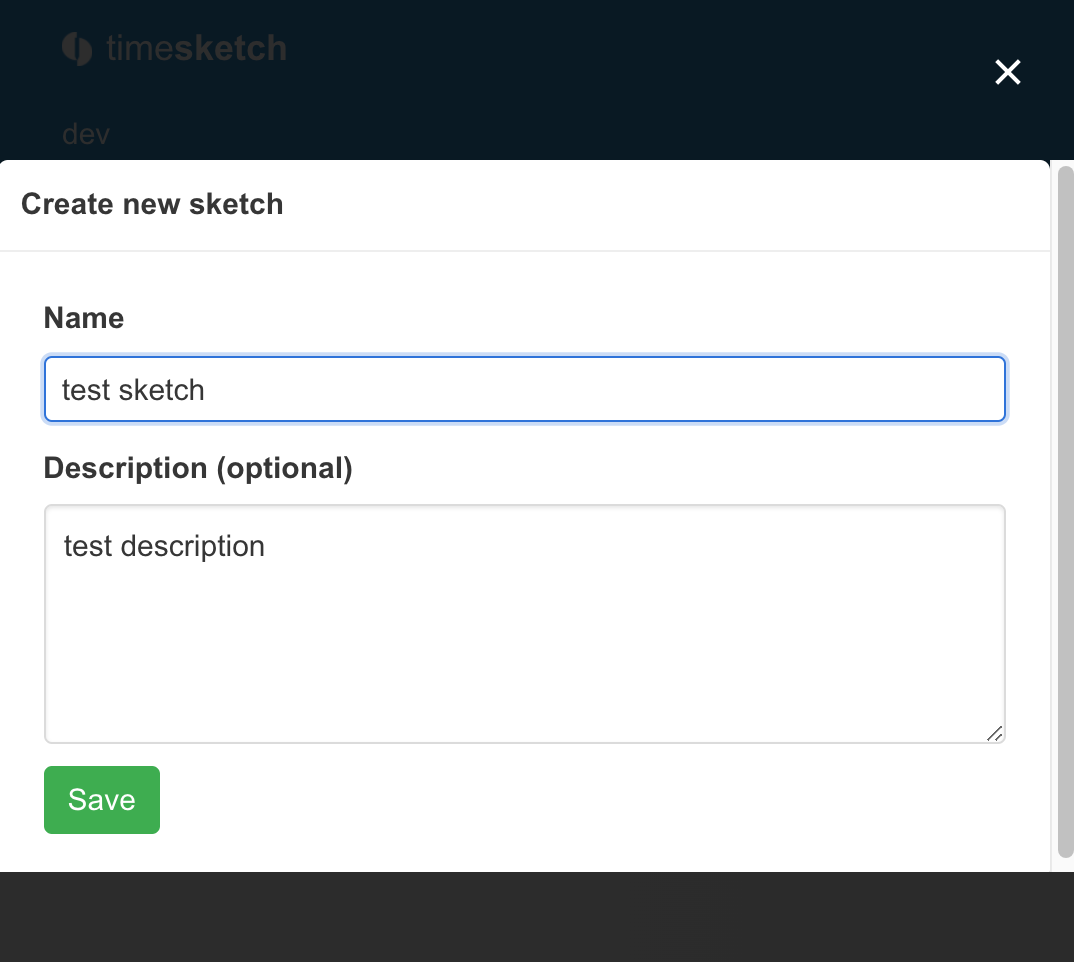
Click Save to create your sketch
Your sketch should now show up:
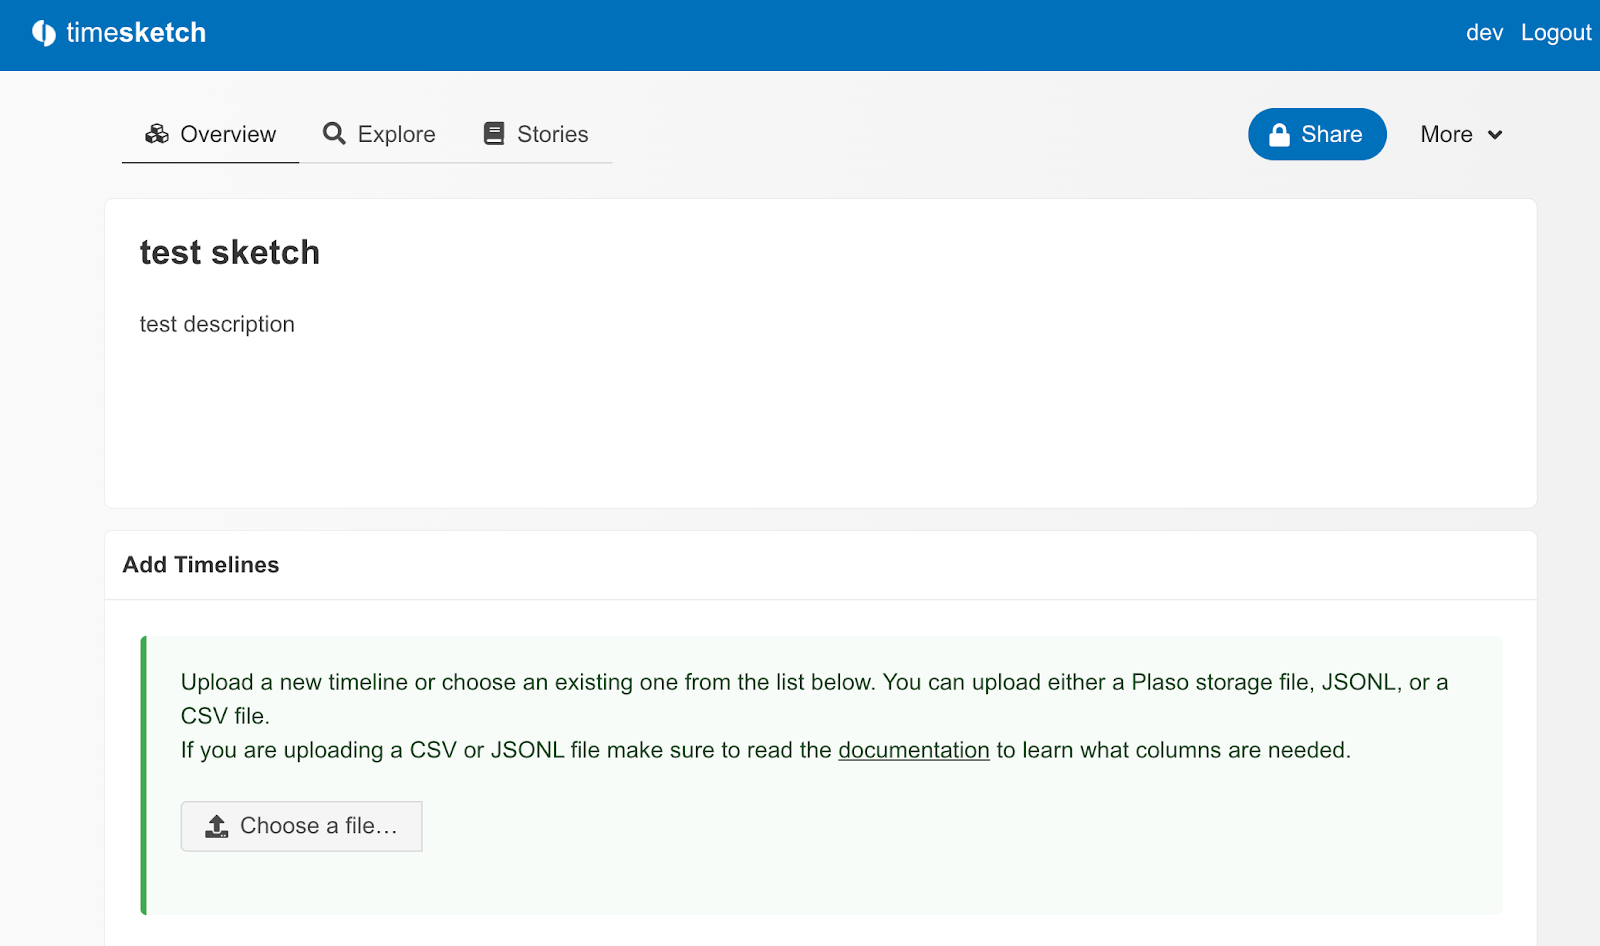
Now you can add your timelines.
Make changes
Open another shell (if you are using a code editor, the following flow might be completely different). For demonstration purposes we will continue with our workflow to be executed in your shell only.
Navigate to your Timesketch folder.
Most of the code you want to modify is nested in timesketch/timesketch/ folder.
Make a branch
It is recommended to have one branch per feature you are working on, to keep your changes separated from each other. To achieve this, we will create a new branch called demo
Change code
For demonstration purposes, we will modify the code of the file "timesketch/views/auth.py"
And change from:
To
This will cause a printed "Timesketch rocks" in the logs with every login.
Save the file.
Go back to your browser
click logout
log on again
Everything seems the same, but if you now go to your shell where you started the webserver, you will see:
Let's look at the lines one by one:
The worker detects a change in the auth.py file
the worker closes itself
The worker is restarting
You authenticated and the message was printed here.
It is important to understand that you do not have to restart anything yourself. The environment will detect changes on its own until something breaks, then error messages will be shown.
Note: If you change or add code to an analyzer, you need to restart your celery worker in your second shell.
Commit changes to your branch
Once you are happy with your changes, run:
So you can now either commit the changed auth.py or restore the original one. For demonstration purposes, let's assume we want to commit.
To commit your changes with a commit message, run
Push your changes to your fork
Create a pull request
By creating a pull request you are contributing to our code base. So before going ahead with pressing the putting have a look at ‘https://github.com/google/timesketch/blob/master/CONTRIBUTING.md’ to understand what it means to contribute code.
To create a pull request:
go to https://github.com/<YOUR GITHUB USERNAME>/timesketch/tree/demo. If you press the create pull request button the UI shows you the changes and gives you the opportunity to explain what you changed
Press "Create pull request"
Conclusion
Congratulations, you now have a working setup of Timesketch to develop and add functionality.
For the future we plan a blog post on creating tests for your Timesketch code, so stay tuned for that.
If you run into problems take a look at the issues page in the Timesketch GitHub repository, to see if other people have seen the issue before. If nothing there helps, ask for help on the Open Source DFIR slack or open an issue on the tracker.
Comments
Post a Comment